Masterclass: Aline Lima Shares her Enamel Pin Design Process
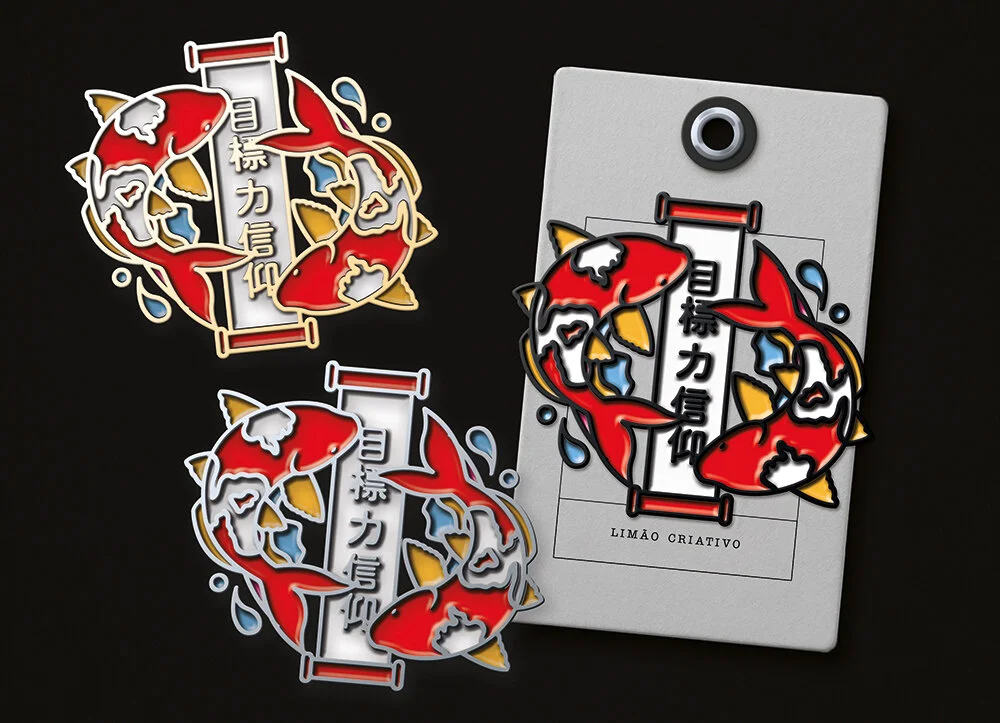
Koi Fish enamel pins designed by artist Aline Lima
Meet the Artist:
Aline Lima
Designer and Illustrator
Based in Brazil, Aline is a graduate in Business Administration. Passionate about design, she runs her own design and illustration services company called Limão Criativo. With an experience of over 10 years in graphic design, Aline specializes in branding and visual identity.
Aline’s foray into enamel pin design:
Aline landed upon the idea of using enamel pins for a project with serendipity, while looking for inspiration. She found enamel pins lovely and bringing a sense of joy and nostalgia.
Aline loves drawing fish and representing movements in some way, geometric shapes are present in almost all her works. Nature, sounds, objects, family and love for her loved ones-all inspire her work.
Designing enamel pins: Aline’s process
Design Step 1:
Aline stresses the importance of a good briefing with her client. After she has understood the concept, she spends a lot of time looking for inspiration (on Behance and Pinterest mainly) and collecting all the ideas that fit in with the briefing. She then filters all the ideas till she narrows on an initial main idea.
Design Step 2:
Aline loves to draw freehand and she sketches her main idea as an enamel pin design. Then she transfers the design digitally using a vectorization program such as Adobe Illustrator.
Fish Enamel pin design using Adobe Illustrator
Design Step 3:
She then defines the colors, keeping in mind the metal material (usually in the shades of gold, silver, black and rose gold) of the pins. She tries different colour combinations till she gets what she likes the best. Aline highly recommends using Adobe Colour Wheel for getting colour combinations right.
Design Step 4:
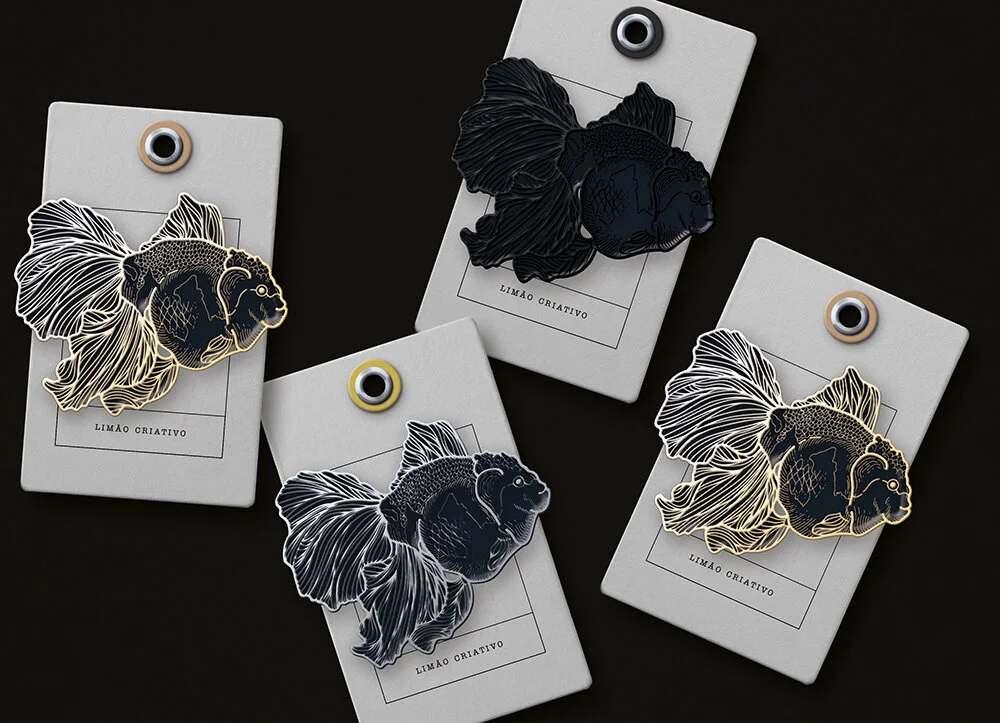
She uses a mock-up tool (there are several free tools) to see how the project will look once it is complete.
Using mock-up tool to visualize how the pin will look
Design Step 5:
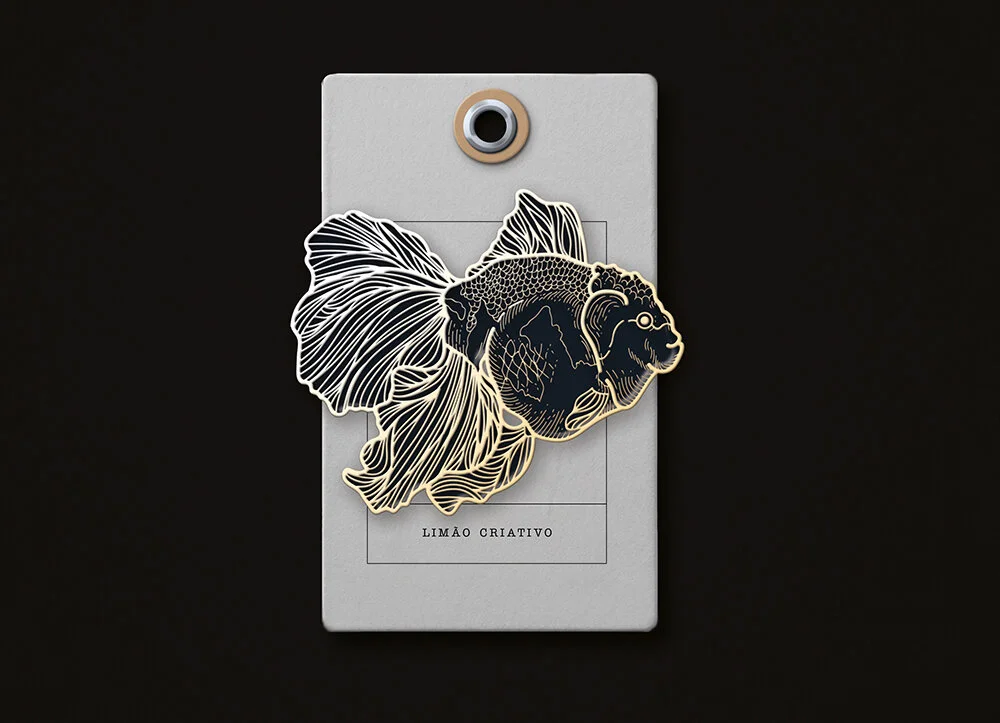
If Aline likes the look of the pin in the mock-up, she sends it to the client for approval.
Final Pin design sent to the client
(All image credits: Aline Lima)
What should one bear in mind while designing enamel pins?
“Take care not to include too many fine details in the enamel pin design, as they are likely to get lost in the molding or stamping process. Also, It is good to avoid using gradients in your design. ”
We are sure you found Aline’s enamel pin design tips handy!
You can check her work on Behance and on Instagram.
At Gumtoo, we can help you design and manufacture enamel pins for your brand. Get in touch with us at sales@gumtooStickers.com


